No, bang the box isn't something that you might find in the dark corners of the Internet. It's my new mini-ITX build, which I have to admit right off the hop, is all Rob's fault. ")
It seems longer than just to summers ago when I built another i5-based system. That one was more geared toward finding the sweet spot of price vs performance. While it served me well, it just didn't have the horsepower needed to play games with pimped out settings, even at a resolution below 1920x1080.
That shouldn't be much of a problem now though!
Call me a brand whore if you want, but I'm mighty happy to have only two manufacturers in this build (aside from Intel of course) - MSI and Corsair. I've used products from both companies in the past and have had 100% rock solid systems for years, so if it ain't broke, don't fix it.
Ok, enough chitty chat. Let's get to the good stuff!
DISCLAIMER: Since this isn't an official TG article, I don't need to edit the shots or proof read this build log a billion times, so be warned that the pictures are far from perfect, and I'm sure the writing is a little suspect as well.
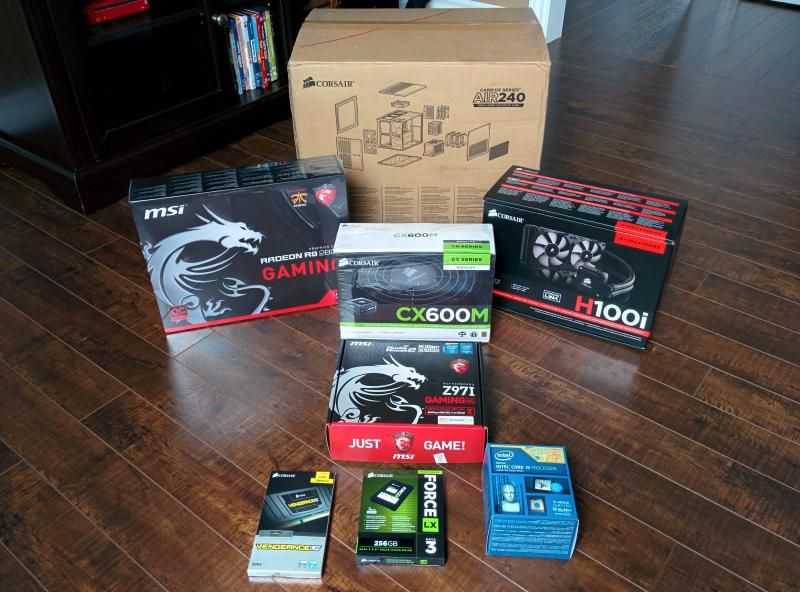
Here's all of the bits and pieces laid out for all to see. The components are:
Intel i5-4690K processor
MSI Z97I GAMING AC mITX motherboard
Corsair Vengeance LP 2x8GB DDR3 1866mhz memory
Corsair Force LX 256GB solid state drive
Corsair H100i all-in-one liquid cooler
Corsair CX600M power supply
MSI R9 280X GAMING 3G video card
Corsair Carbide Air 240 chassis
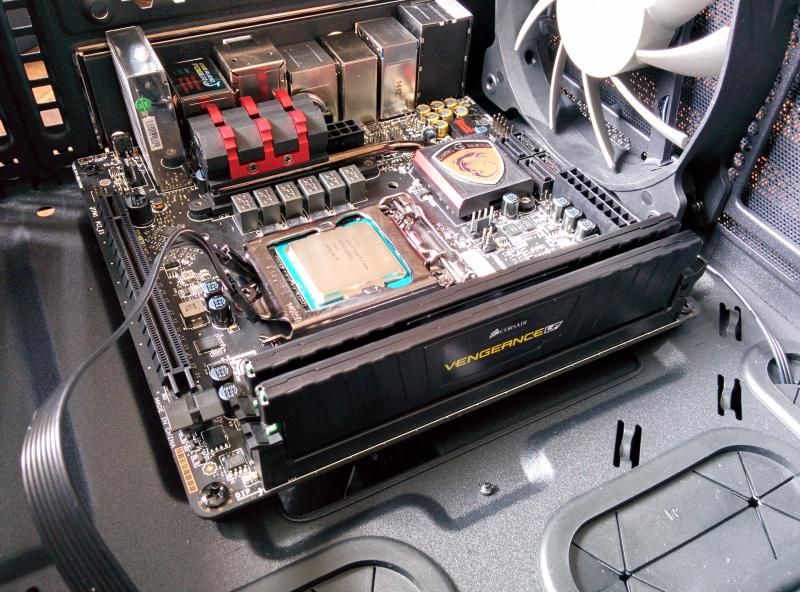
Due to the tight interior and unique layout of the Air 240, I didn't install the components in the usual order, so keep your lips zipped before you tell me I'm doin' it wrong. With that said, here's the motherboard with the CPU installed. Even in a small chassis like the Air 240, this board still looks itty bitty.
Thanks for the memory...
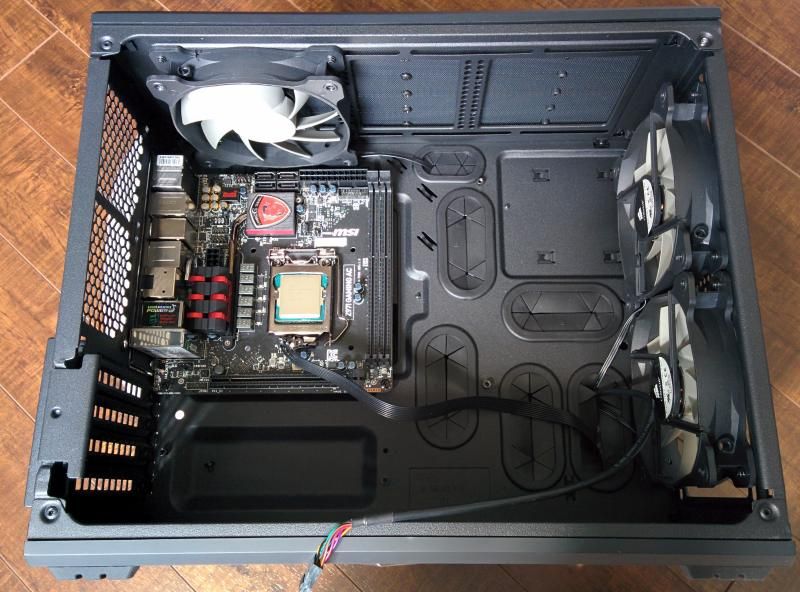
In order to fit the H100i in the front, the stock fans had to be removed. It looks pretty bare without them, but we'll fix that soon enough.
Told ya!
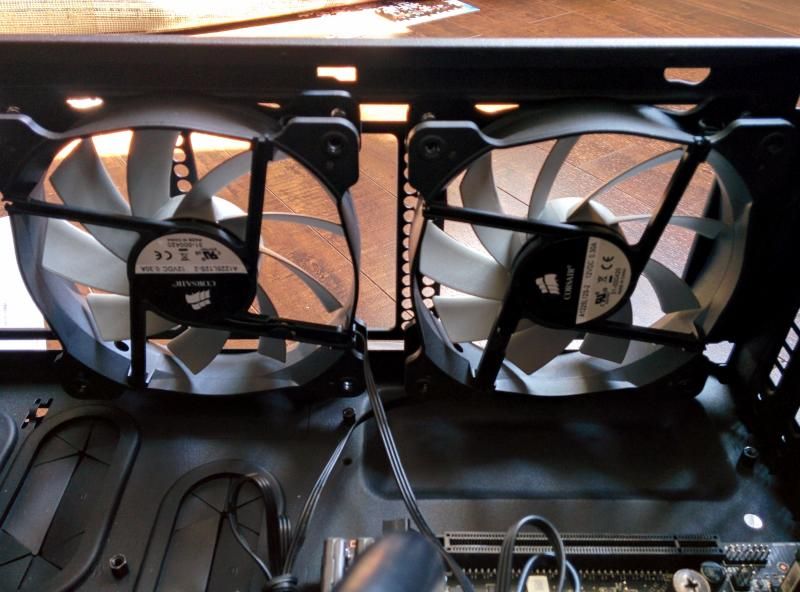
But now I have two extra fans, so what's a super mega ultra nerd to do? Slap them things onto the bottom of the case to feed the GPU, that's what!
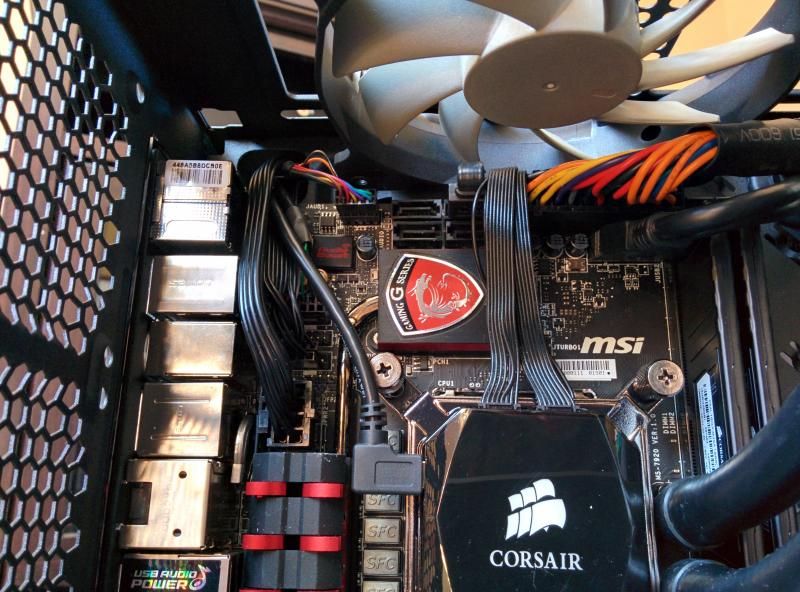
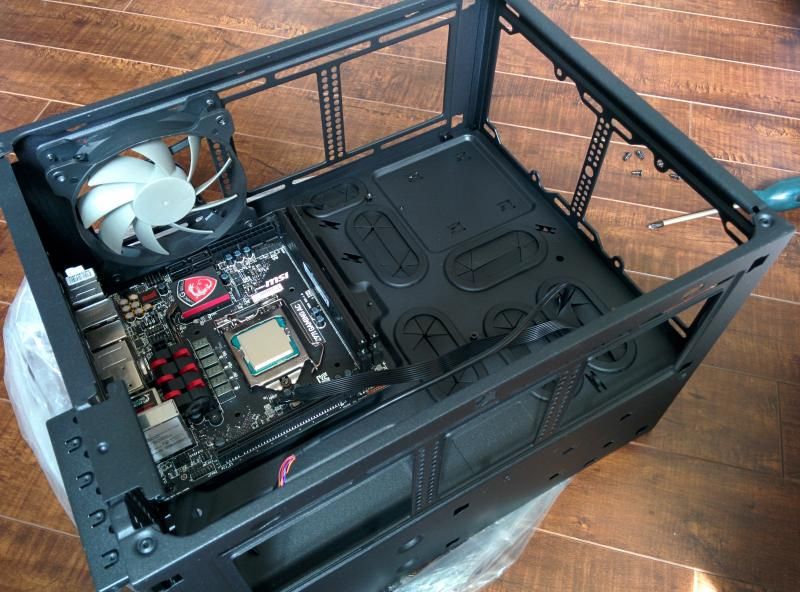
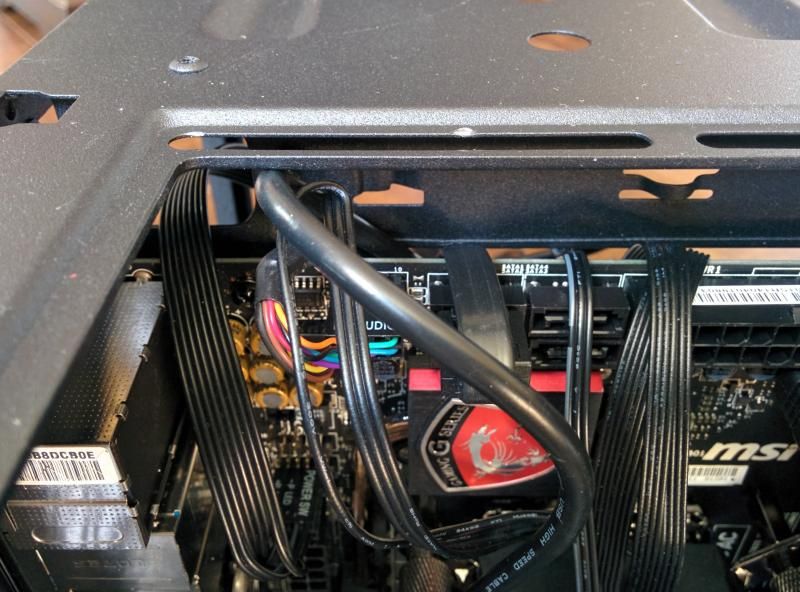
The loss of motherboard real estate means that for the most part the connectors are no longer along the edges. In the case of the Z97I GAMING AC, they're all sort of packed to the left of the CPU. To get around this I decided to run the majority of the cables up and over the top edge, then down in behind the motherboard and out through the cutout in the motherboard tray. In order to do this, the top fan had to be temporarily removed...
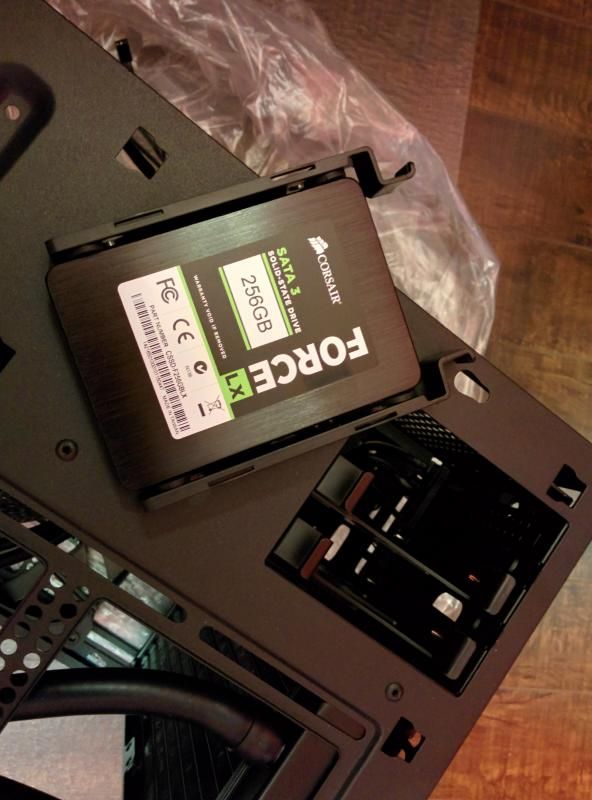
...along with the 3.5" drive cage. This cage had to go for good because not only did it block the space behind the motherboard, but also the small cable management hole in the top left corner. This is fine since I don't plan on using any larger drives for storage (a 3TB external will handle that job), but it would have been nice if this drive cage had some cutouts in it so that users could sacrifice the bay closest to the motherboard to run some cables, and still retain the use of the other two bays.

Even though the drives are tucked away and seldom seen, why not a little shot of this one all dressed up for the party?
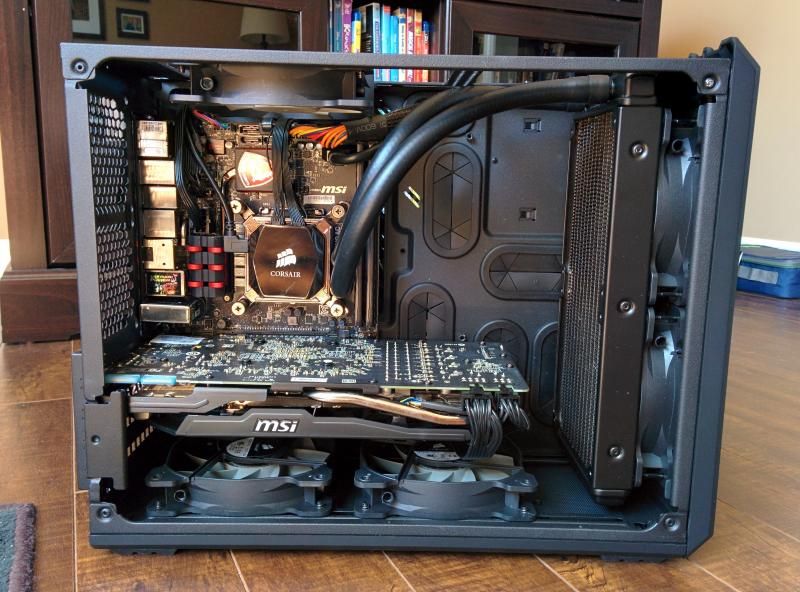
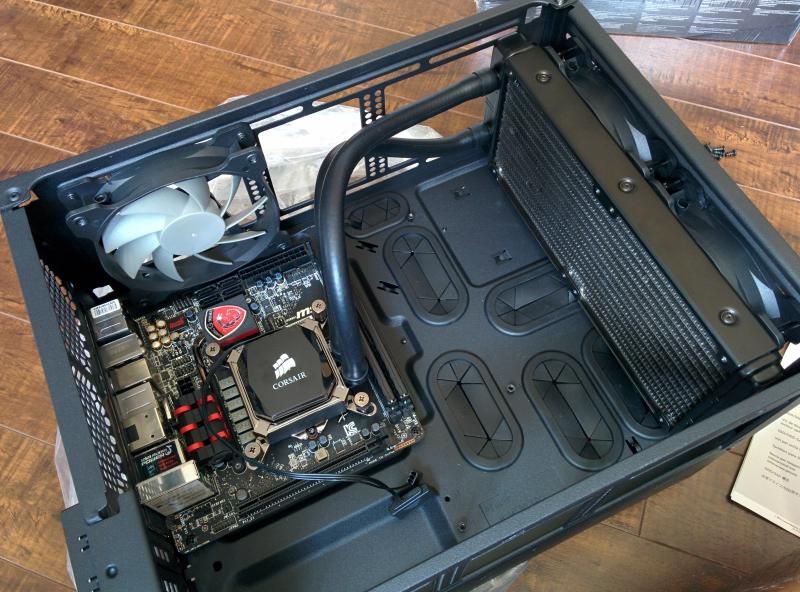
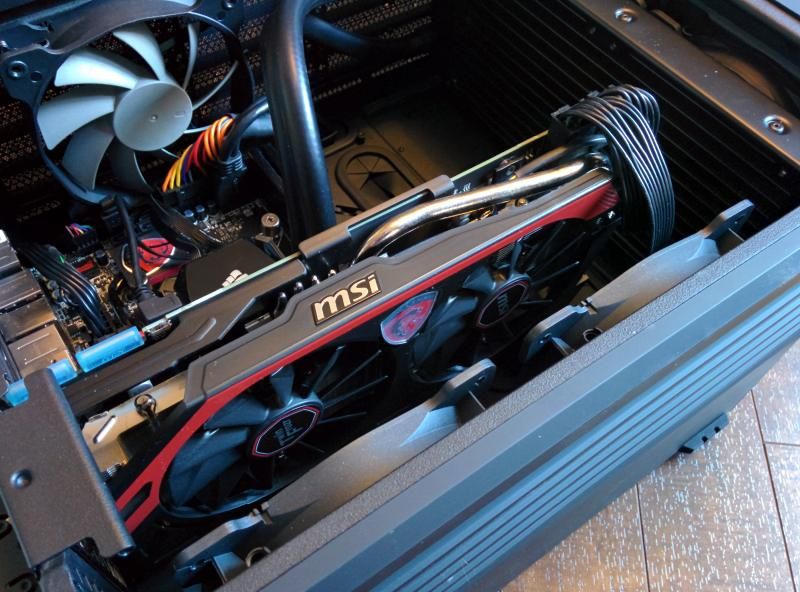
Now it's gettin' good! This thing took 7 days to get to me, each one more agonizing than the last! No problem with the card length, PLUS there's enough room to slap another set of fans on the H100i and make a radiator sammich for some push/pull lovin'.

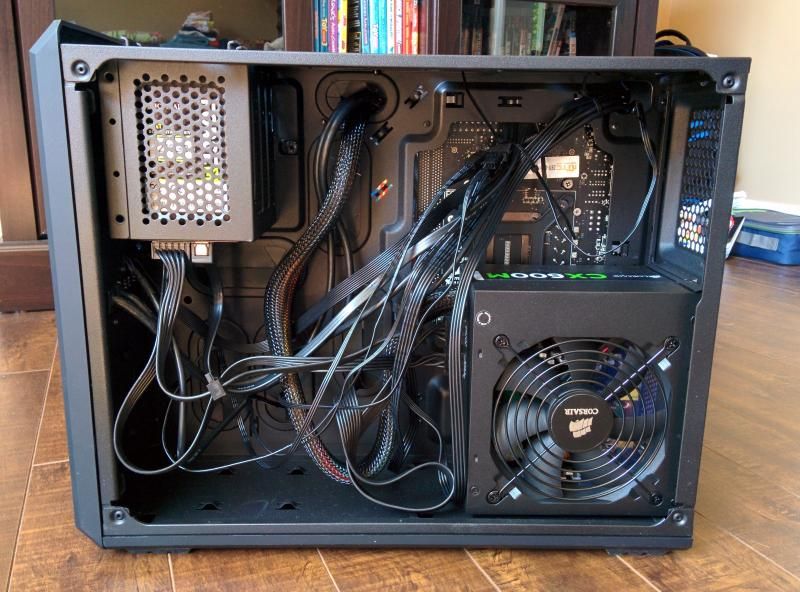
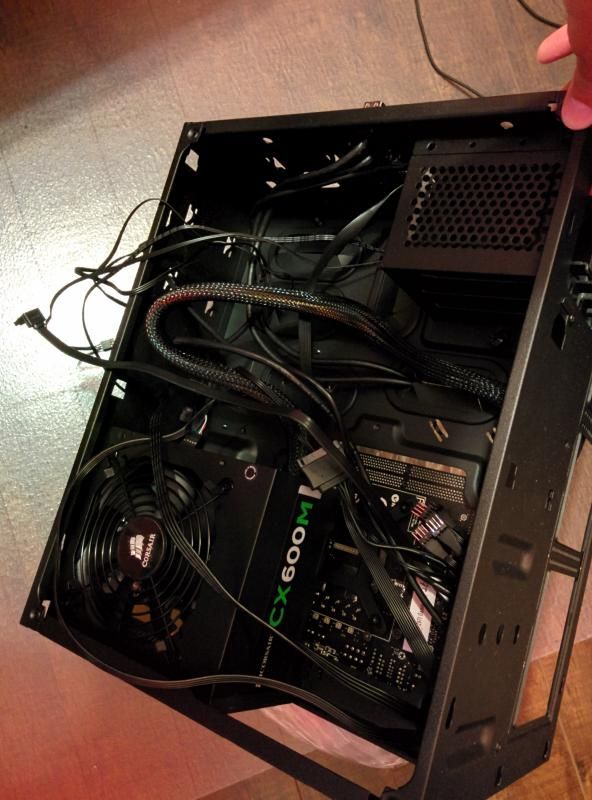
Sorry about this shot. I'm not sure why I was tipping the case up, but here's the messy backside. Normally I'd zip tie the cables, but there's so much room on this side, and no fan blades to worry about that I left them loose. It'll mean an easier time if I decide to change things around too.
Another somewhat blurry shot of some somewhat sloppy cable management. To be honest, at this point I just really wanted the rig to be together. I had been without my own system for almost two weeks at this point and I think I was starting to develop some classic withdrawal symptoms.
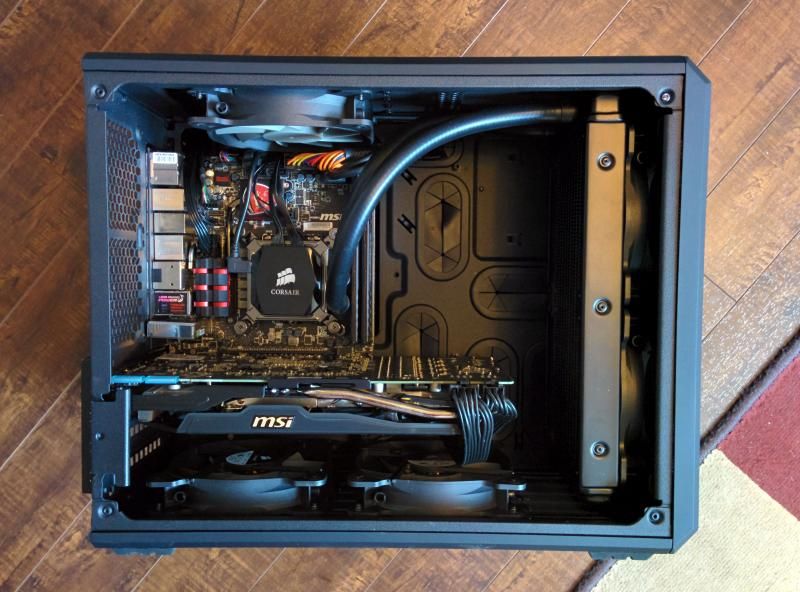
And here is the final system with all of the bits and pieces installed. The game plan is to swap out the fans on the radiator for some SP120 red LED units in a push/pull configuration, and the case fans for some AF120 red LEDs. That's something that I'll handle in a month or two since 7 fans is a lot of $$$, plus the SP120 twin pack doesn't seem to be available here in Canada yet.
Another shot of the gear installed...
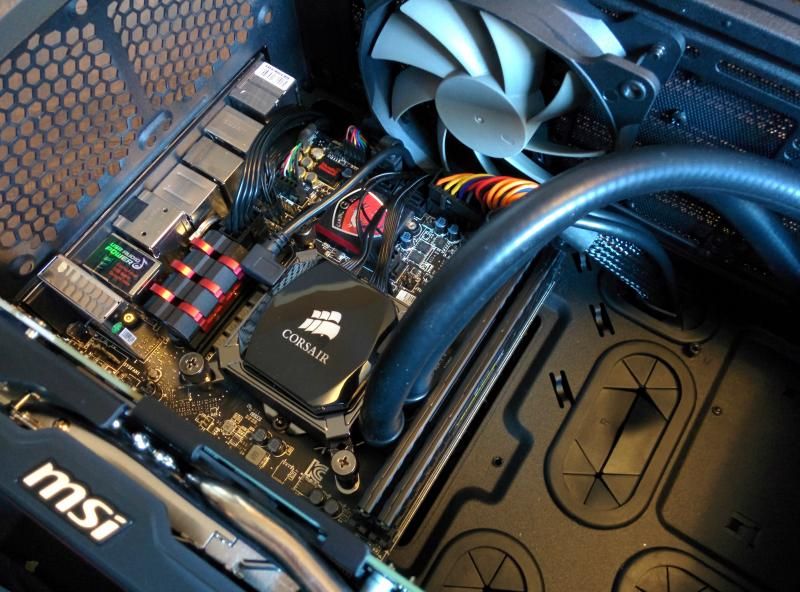
...followed by another. I could do this all day!
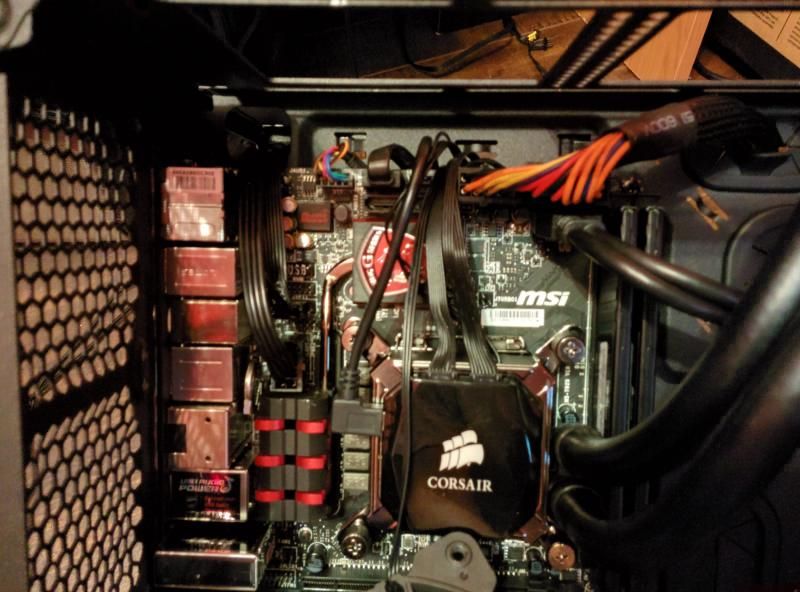
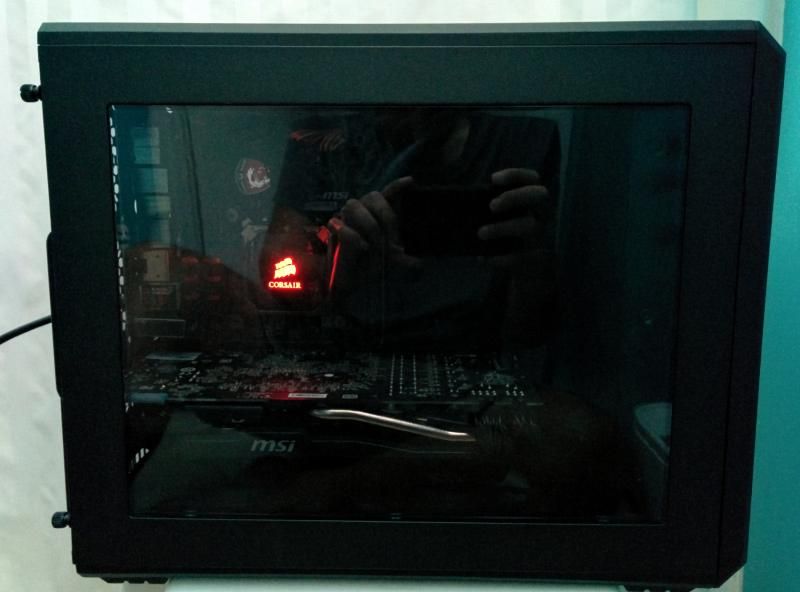
And of course, a low light shot to show the customizeable LED on the top of the block/pump housing.
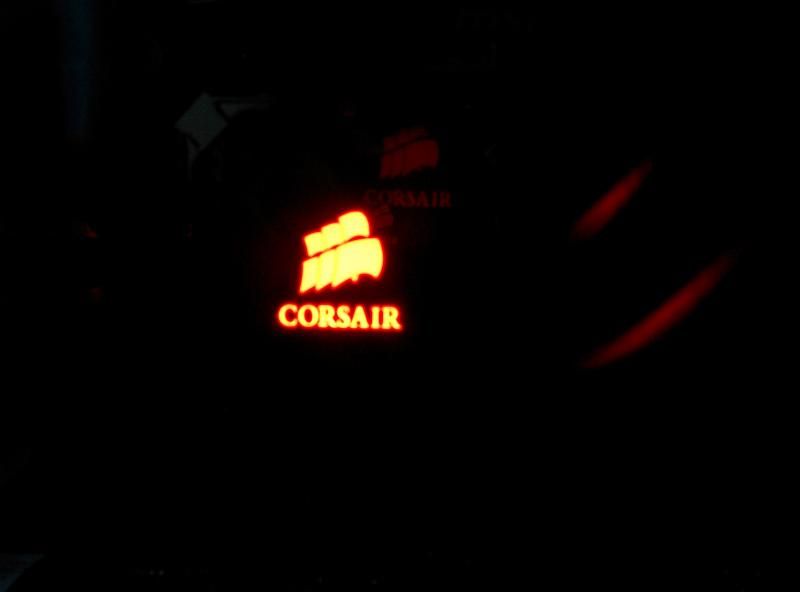
Close up!
Oh, but wait, what's this? When it came time to put the windowed side panel on, the wires that come out of the GPU connectors end up contacting the window. I know that the 280X is a big card, but I've never had any clearance problems due to the width. Thankfully the panel does have a bit of flex to it, so it goes, but it's one of those I-know-it's-there-so-it'll-drive-me-crazy kind of things.

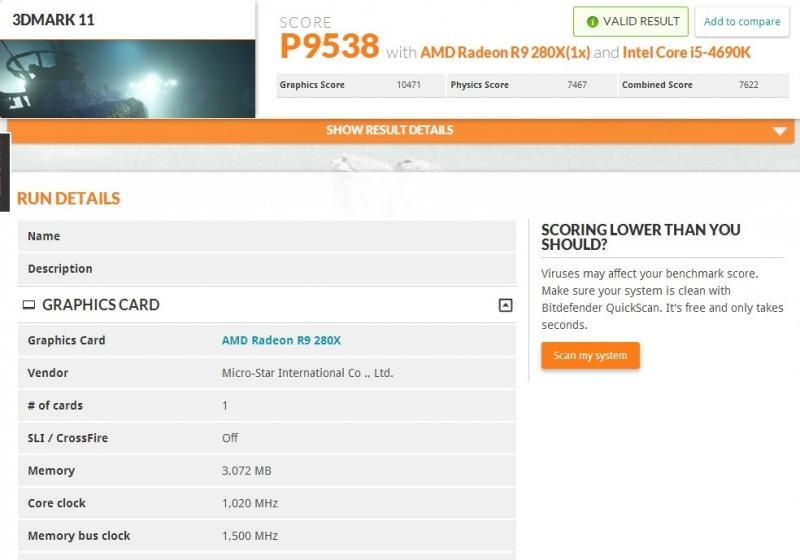
Now all that's left is to run some benchmarks and see how the system performs. I ran some comparison tests at the same resolution to see how much of a performance boost this system has over my old one.
Old rig...
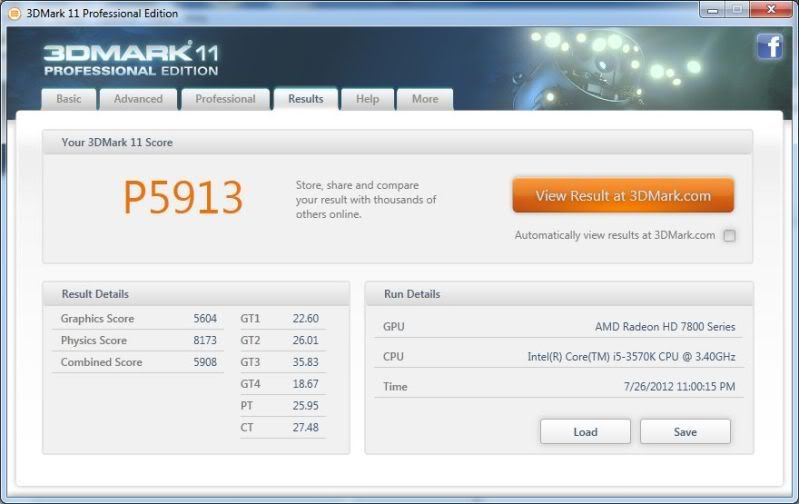
New rig. W00T! The higher physics score with the 7850 in my old rig is a little concerning, and I expected to break 10K, but hey, always move forward, and this is a very nice step (or rather leap) in that direction.
Overclocking is something that has been a little bit tricky on this platform, and I still haven't managed to get things to where I want them, so maybe I'll save that for a follow up. I'm sure that with a nice, stable overclock I can break that 10K number.
Ciao!
It seems longer than just to summers ago when I built another i5-based system. That one was more geared toward finding the sweet spot of price vs performance. While it served me well, it just didn't have the horsepower needed to play games with pimped out settings, even at a resolution below 1920x1080.
That shouldn't be much of a problem now though!
Call me a brand whore if you want, but I'm mighty happy to have only two manufacturers in this build (aside from Intel of course) - MSI and Corsair. I've used products from both companies in the past and have had 100% rock solid systems for years, so if it ain't broke, don't fix it.
Ok, enough chitty chat. Let's get to the good stuff!
DISCLAIMER: Since this isn't an official TG article, I don't need to edit the shots or proof read this build log a billion times, so be warned that the pictures are far from perfect, and I'm sure the writing is a little suspect as well.
Here's all of the bits and pieces laid out for all to see. The components are:
Intel i5-4690K processor
MSI Z97I GAMING AC mITX motherboard
Corsair Vengeance LP 2x8GB DDR3 1866mhz memory
Corsair Force LX 256GB solid state drive
Corsair H100i all-in-one liquid cooler
Corsair CX600M power supply
MSI R9 280X GAMING 3G video card
Corsair Carbide Air 240 chassis
Due to the tight interior and unique layout of the Air 240, I didn't install the components in the usual order, so keep your lips zipped before you tell me I'm doin' it wrong. With that said, here's the motherboard with the CPU installed. Even in a small chassis like the Air 240, this board still looks itty bitty.
Thanks for the memory...
In order to fit the H100i in the front, the stock fans had to be removed. It looks pretty bare without them, but we'll fix that soon enough.
Told ya!
But now I have two extra fans, so what's a super mega ultra nerd to do? Slap them things onto the bottom of the case to feed the GPU, that's what!
The loss of motherboard real estate means that for the most part the connectors are no longer along the edges. In the case of the Z97I GAMING AC, they're all sort of packed to the left of the CPU. To get around this I decided to run the majority of the cables up and over the top edge, then down in behind the motherboard and out through the cutout in the motherboard tray. In order to do this, the top fan had to be temporarily removed...
...along with the 3.5" drive cage. This cage had to go for good because not only did it block the space behind the motherboard, but also the small cable management hole in the top left corner. This is fine since I don't plan on using any larger drives for storage (a 3TB external will handle that job), but it would have been nice if this drive cage had some cutouts in it so that users could sacrifice the bay closest to the motherboard to run some cables, and still retain the use of the other two bays.
Even though the drives are tucked away and seldom seen, why not a little shot of this one all dressed up for the party?
Now it's gettin' good! This thing took 7 days to get to me, each one more agonizing than the last! No problem with the card length, PLUS there's enough room to slap another set of fans on the H100i and make a radiator sammich for some push/pull lovin'.
Sorry about this shot. I'm not sure why I was tipping the case up, but here's the messy backside. Normally I'd zip tie the cables, but there's so much room on this side, and no fan blades to worry about that I left them loose. It'll mean an easier time if I decide to change things around too.
Another somewhat blurry shot of some somewhat sloppy cable management. To be honest, at this point I just really wanted the rig to be together. I had been without my own system for almost two weeks at this point and I think I was starting to develop some classic withdrawal symptoms.
And here is the final system with all of the bits and pieces installed. The game plan is to swap out the fans on the radiator for some SP120 red LED units in a push/pull configuration, and the case fans for some AF120 red LEDs. That's something that I'll handle in a month or two since 7 fans is a lot of $$$, plus the SP120 twin pack doesn't seem to be available here in Canada yet.
Another shot of the gear installed...
...followed by another. I could do this all day!
And of course, a low light shot to show the customizeable LED on the top of the block/pump housing.
Close up!
Oh, but wait, what's this? When it came time to put the windowed side panel on, the wires that come out of the GPU connectors end up contacting the window. I know that the 280X is a big card, but I've never had any clearance problems due to the width. Thankfully the panel does have a bit of flex to it, so it goes, but it's one of those I-know-it's-there-so-it'll-drive-me-crazy kind of things.
Now all that's left is to run some benchmarks and see how the system performs. I ran some comparison tests at the same resolution to see how much of a performance boost this system has over my old one.
Old rig...
New rig. W00T! The higher physics score with the 7850 in my old rig is a little concerning, and I expected to break 10K, but hey, always move forward, and this is a very nice step (or rather leap) in that direction.
Overclocking is something that has been a little bit tricky on this platform, and I still haven't managed to get things to where I want them, so maybe I'll save that for a follow up. I'm sure that with a nice, stable overclock I can break that 10K number.
Ciao!
Last edited: