Anybody who has been interested in computers and computer hardware within the last 10 years will be well aware of who Thermaltake is and what they are all about. Started in 1999 they have released products like the Big Typhoon heatsink, which was king of the down draft cooler hill for a while, the awesome for it's time Big Water cooling system and more recently the Element series of cases as well as the outrageously designed (and even more outrageously priced) Level 10 enclosure.
In an attempt to appeal to the budget crowd they released the V3 Black Edition mid tower case some time ago. It sits at the lower end of the V series line up behind the V9 and the newly released, LAN party inspired V5.
With a new build in the works it was decided that some money would be saved by going with a low cost case and investing the difference into the components that go inside of it rather than have a system that is all show and no go. The V3 Black Edition was the clear winner due to looks and features for an i3 budget gaming build.
Product link: Thermaltake V3 Black Edition
The link above will provide some glamour shots of the case itself straight from Thermaltake but what I wanted to focus on are the pros and cons of the case itself rather than the looks. Anybody can look at pictures. It is the functionality that I think most people should be concerned with when looking for the best product for the lowest price tag.
The case certainly has some nice features for occupying such a low price point.
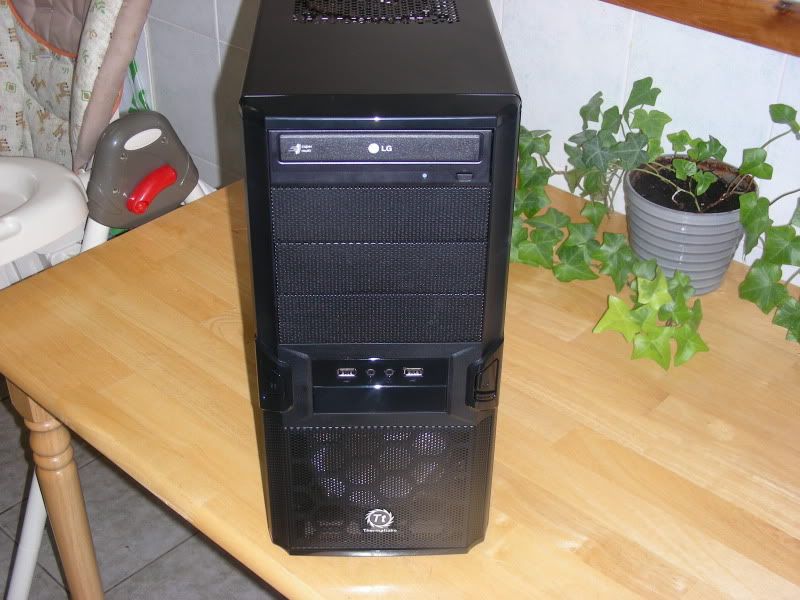
It is light and compact with understated styling meaning it would look great doubling as an office system for every day use and a weekend fragging monster. It is painted a matte black inside and out but the case loves finger prints. Be prepared to wipe it down if you remove a panel.
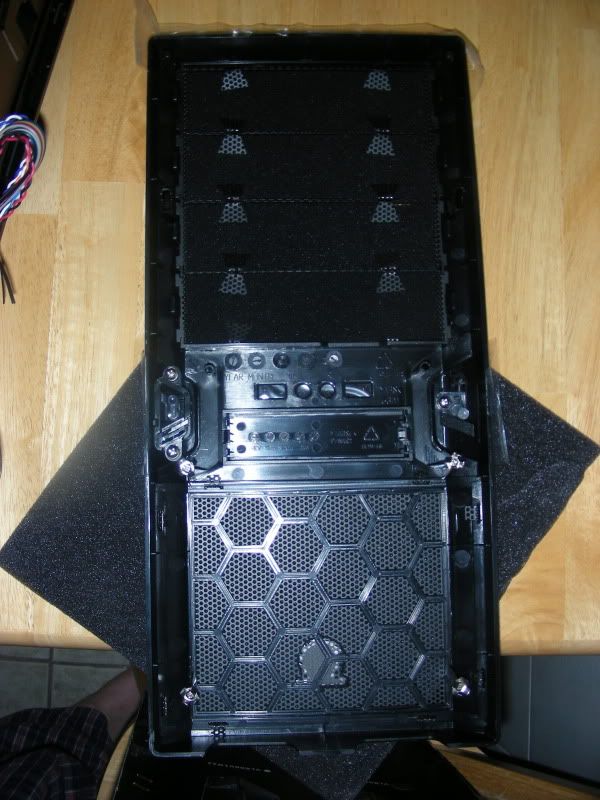
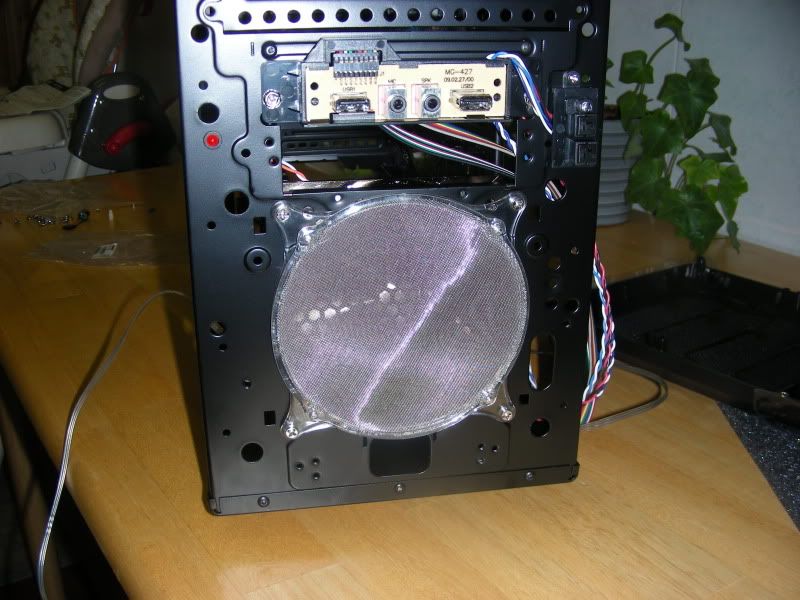
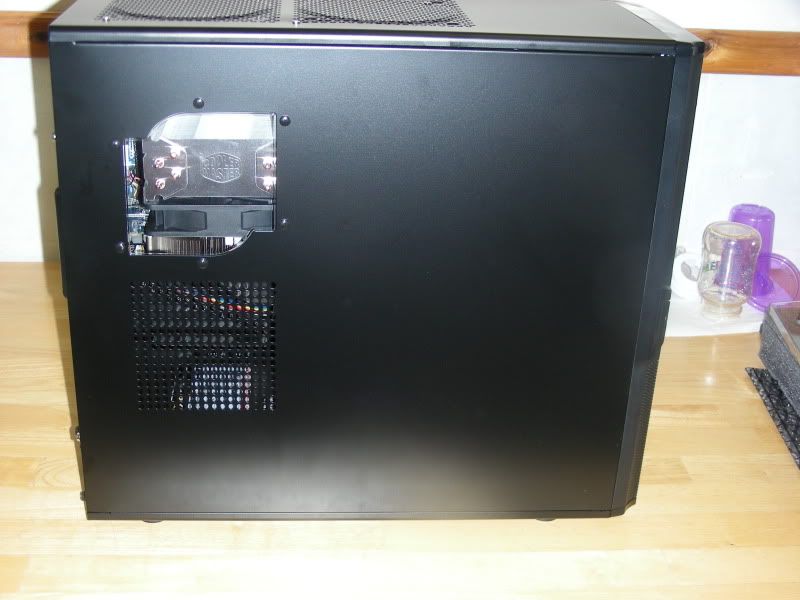
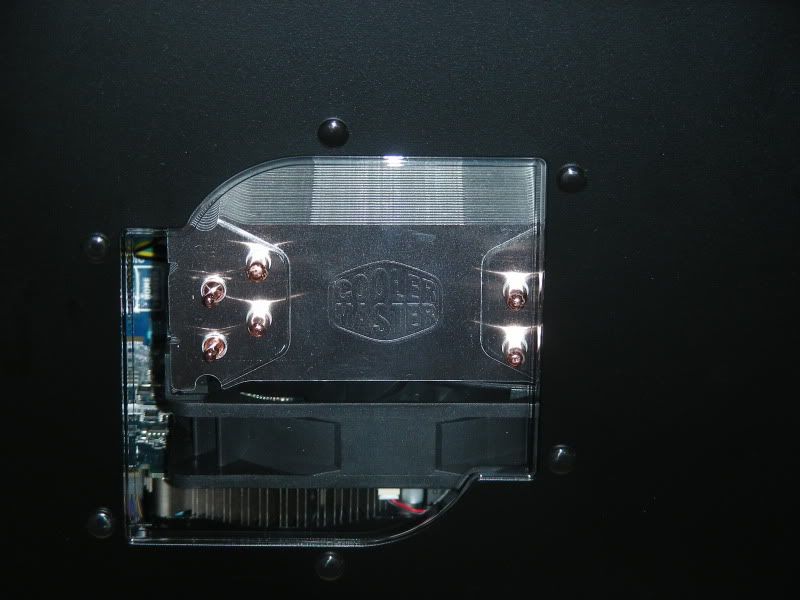
The 4 front 5.25" bays have removeable dust filters to keep things clean as does the bottom mounted power supply ventilation area. The right side of the case has a solid panel while the left panel has a ventilation area near the GPU as well as a small window to give you a view of your CPU cooler. There is another version without the window but it does not seem to be available at any of the regular online retailers.
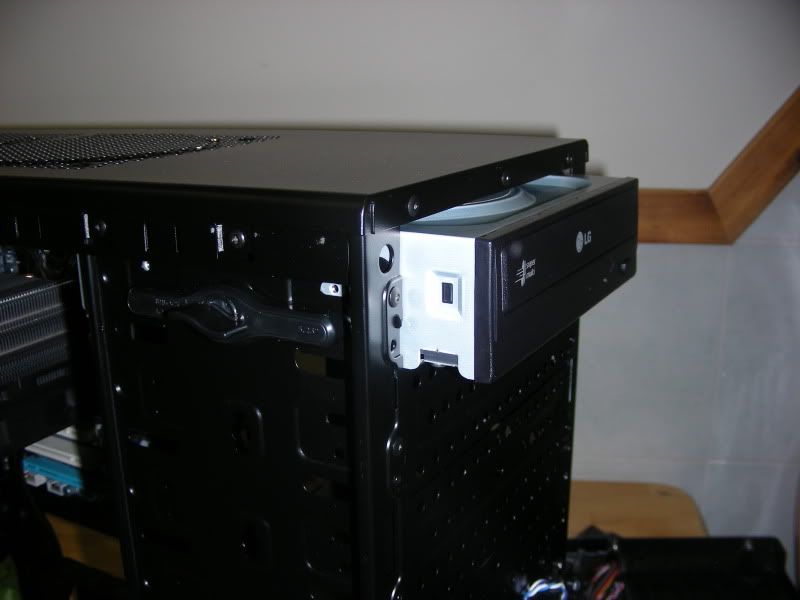
The interior is quite roomy considering the total size of the case. There should be room for enough hard drives (4) and optical drives (4) to satisfy just about any user who this case is marketed to. There is also room for a floppy drive below the front panel USB 2.0, mic and headphone inputs, which support both AC97 and HD Audio and even a spot to mount a 2.5" solid state drive or laptop drive on the bottom of the case inside the hard drive cage.
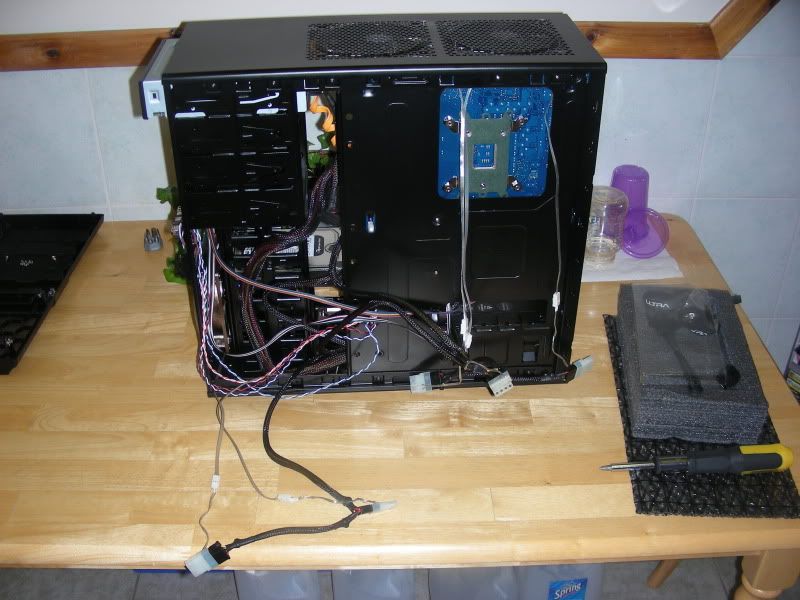
Most of the motherboard stand offs are built into the motherboard tray with the remainder included in the standard bag of hardware. One feature that more case manufacturers should adopt is the center stand off with a pin that acts as a guide to hold the board in place while you tighten the screws. Something else that was nice to see was a large cut out in the motherboard tray that gives easy access to the back plate of any aftermarket heatsink.
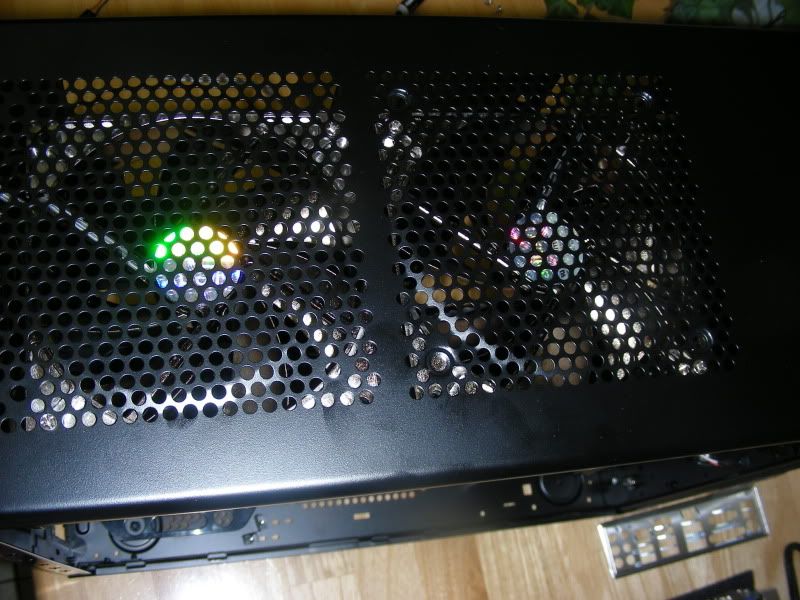
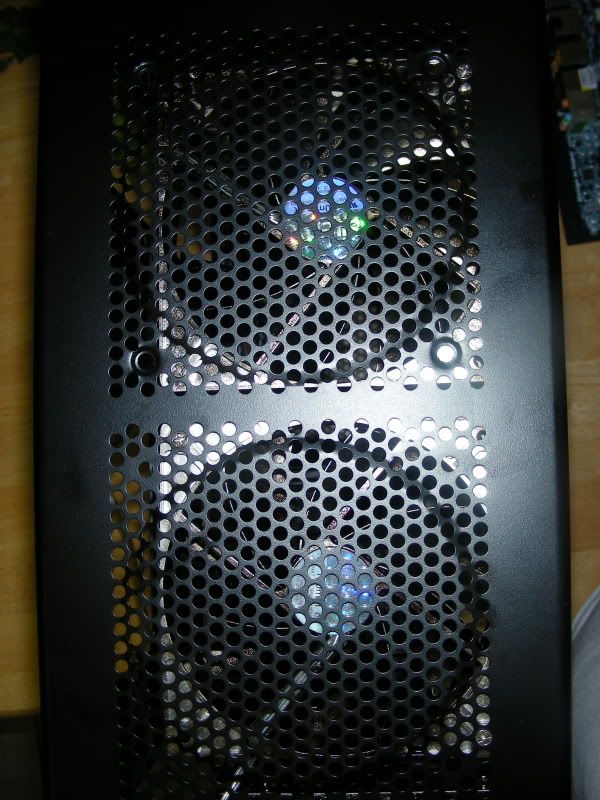
Finally there are enough areas for fans to keep your system cool with room for a 120mm fan directly in front of the hard drive cage, another on the bottom of the case between the power supply and the hard drive cage, two at the top of the case and another at the rear of the case. Thermaltake has supplied a blue LED fan in this location. It is not surprising that this is the only case fan included considering the price point.
Now if this were a marriage, the honeymoon would be over.
The case was a little on the flimsy side but that is to be expected considering the price however that can easily be overlooked unless you move your case around a lot. There are much larger problems than the tickness of the metal used in the construction.
While installing the fans listed in my signature were constant problems with clearance along with the little things that made me scratch my head and wonder what the designers of the case were thinking let alone the people who approved it for mass production.
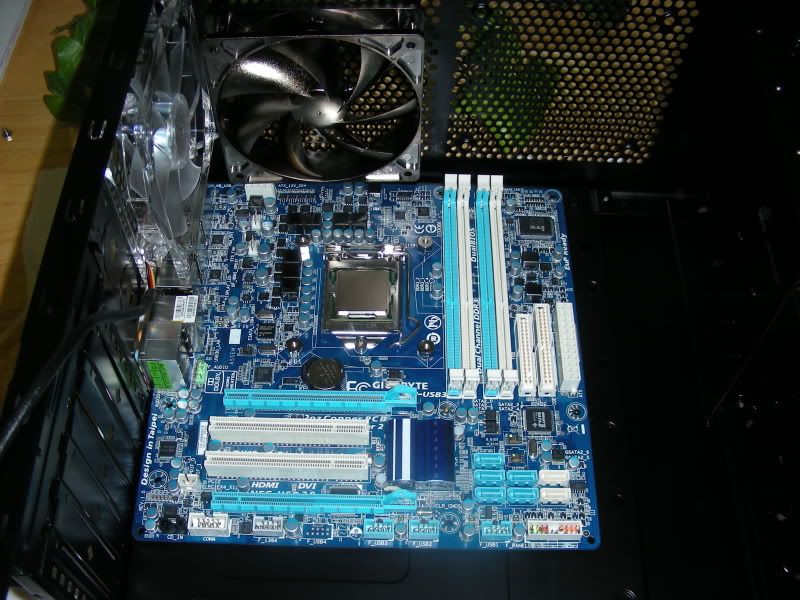
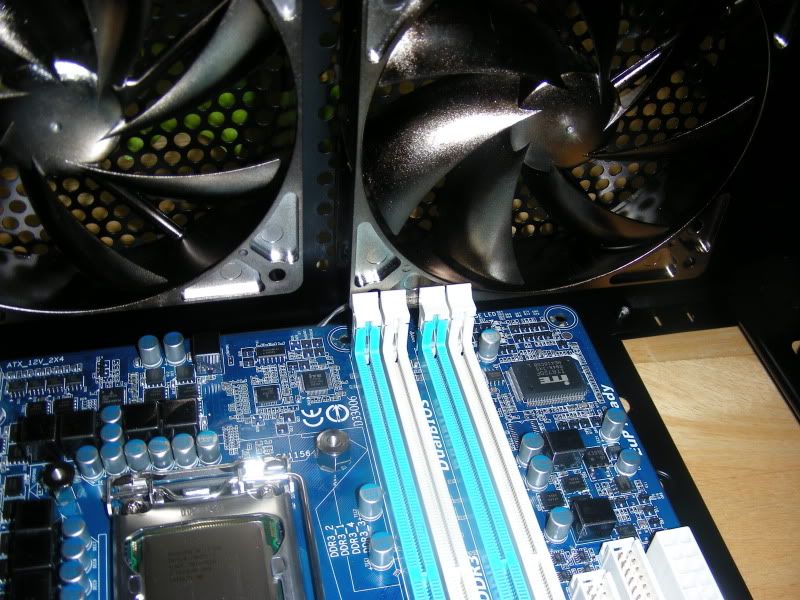
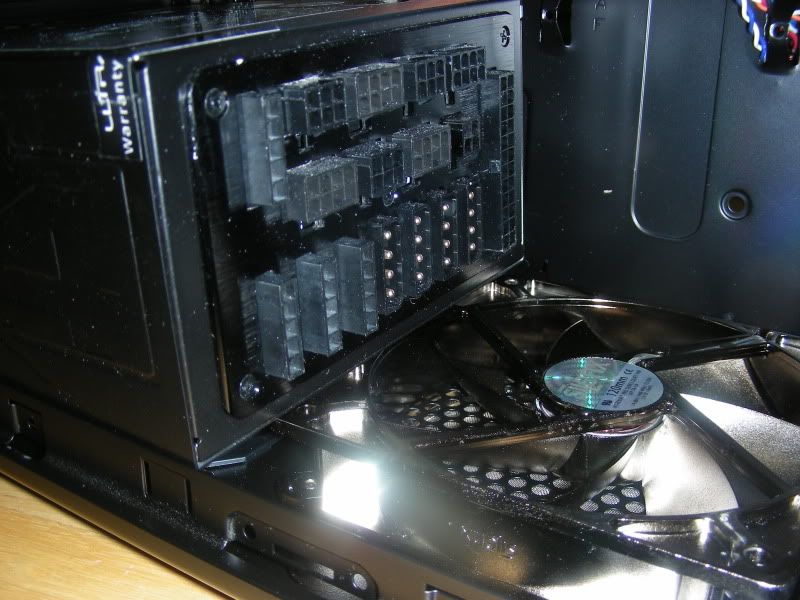
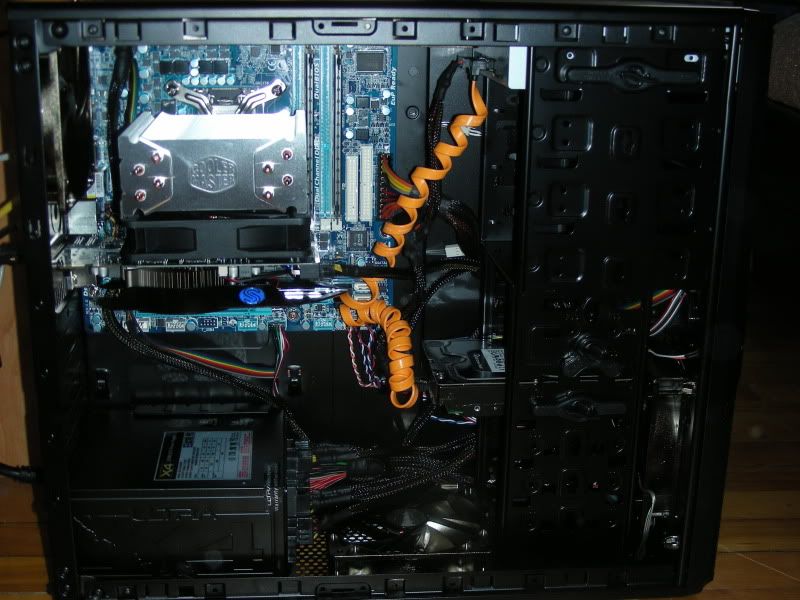
Fan placement was an absolute nightmare. As you can see from the images below there were clearance issues between the 8-pin power connector and top row of clips on the DIMM slots and the two top fans. In order to make the fans fit they had to be mounted using ventilation holes and not the intended mounting holes. Due to this only 2 screws per fan could be used resulting in excess vibration when the sytem is powered on, defeating the purpose of the quiet fans that were specifically selected for this build.


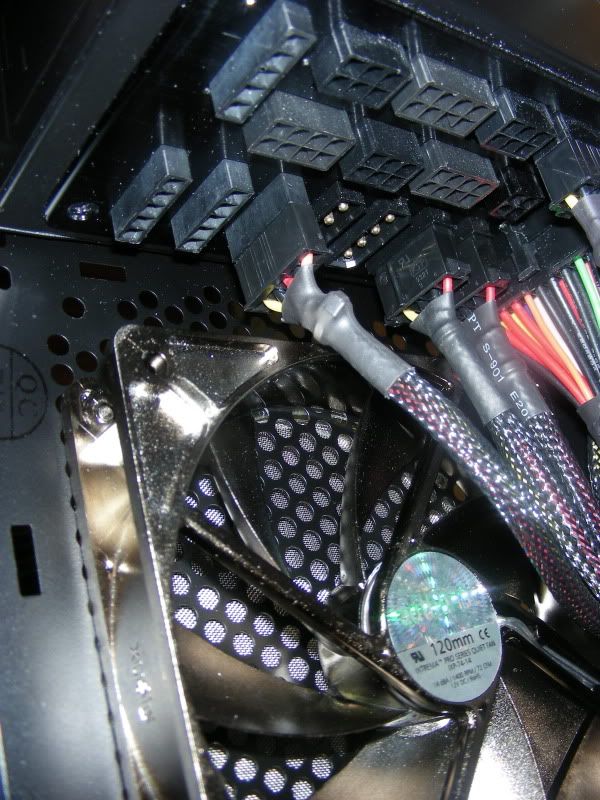
There were similar clearance issues with the bottom mounted fan due to the size of the power supply. Now the power supply used is not out of the ordinary like a few of the over-sized 1000 watt units that are available. This clearance issue can be overlooked because even though the power supply is a bit larger than some plus it is modular meaning the connections go across the entire face of the unit, top to bottom instead of having all cables come from just one side. Again the mounting point was modified but this time only 1 screw could be used but this time the vibrations and noise from this fan outweigh the cooling ability.
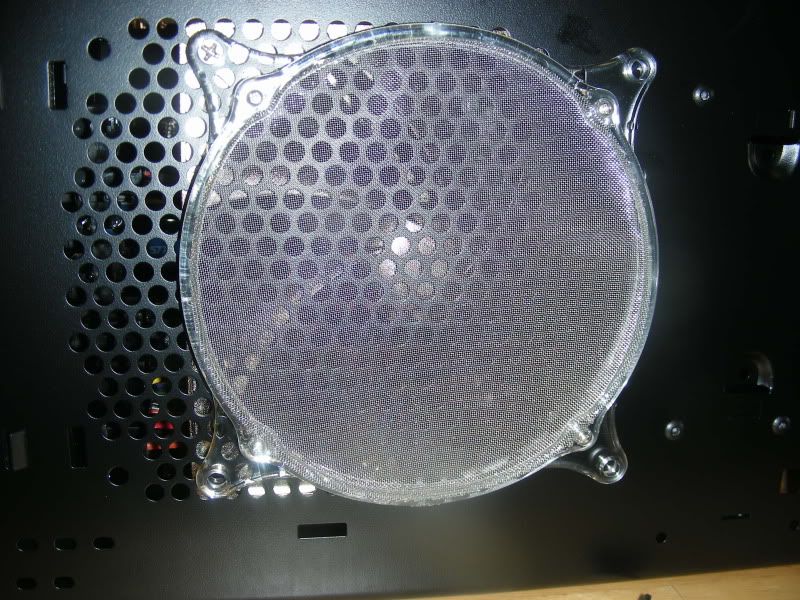
The area where the front 120mm fan can be placed does not have a dust filter like the 5.25" bays do. Surely it would not have been too hard to place a piece of foam there as well. This was not an issue since an additional fan filter was installed in this location but it is the little things like this that should be addressed at a design level.
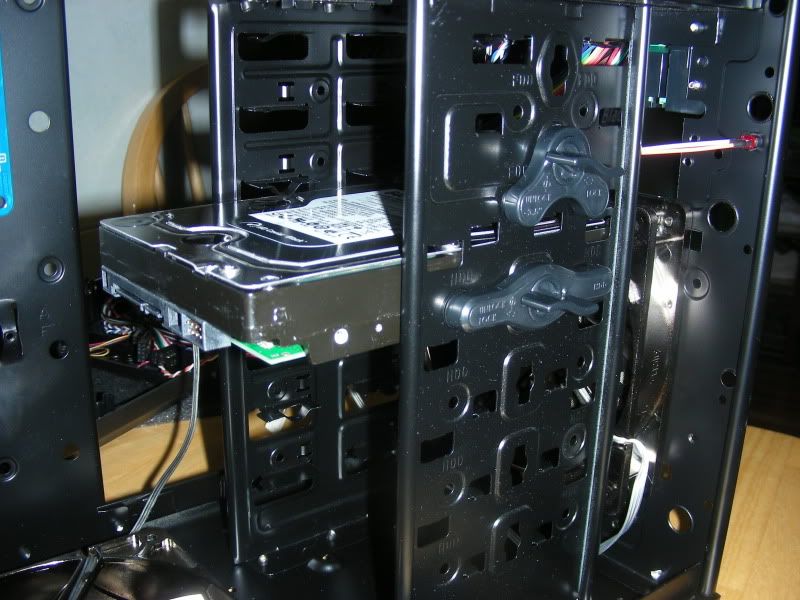
The tool free mounting system for the drives is a bit loose so if you have to move it around a lot you should probaby secure them with screws since there is a bit too much give each way. Also there are only tool free mounting brackets for one of each drive so if you have multiple hard drives or optical drives you will need to use the supplied screws anyway. This was likely done to cut costs but much like the air filter for the front fan, how much would this really add on to the price tag?
There is almost no room behind the motherboard tray and the right side panel so routing cables will be a touch and go afair. The only cables routed behind the motherboard tray in this build were the fan and front audio/USB cables. The rest were stashed behind the 3.5" drive bays. If you buy a case with a black interior you will likely show off the guts of your rig. Thermaltake should have taken this into account and provided either more room behind the motherboard tray or cable management options just to the right of the motherboard itself similar to other cases close to this price point like the Antec Three Hundred.

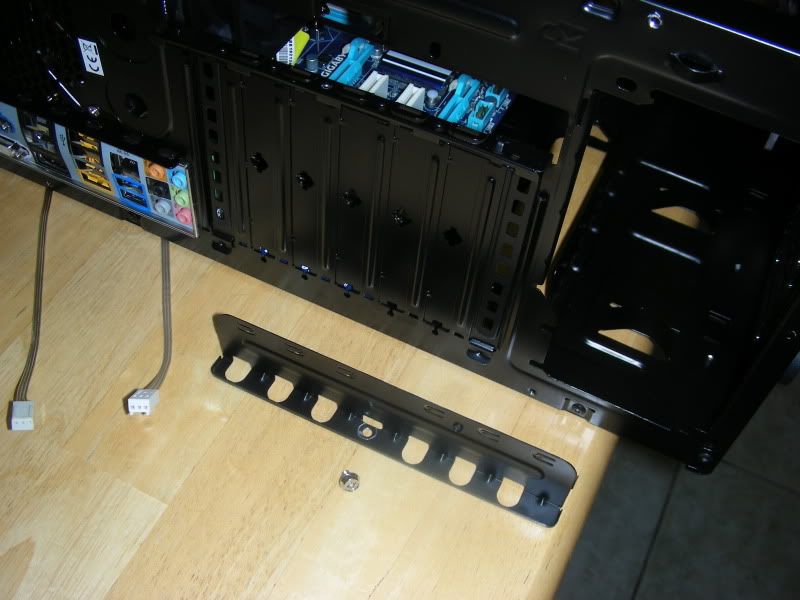
The final feature that really seems like wasted effort and resources was the bracket that covers the 7 PCI slots. This extra cover goes over your expansion cards and secures with a single screw. Maybe this is meant to be a time saving, one screw mounting alternative but there is no way this would keep a card secure enough, especially if it was an extra long card like the 8800, 9800, 5870, etc series or if the card has a heavy after market heatsink.
This was certainly a love/hate build.
If a new company had launched this case then maybe the clearance issues and little nuances could be shrugged off but a company like Thermaltake really should have done their homework. Maybe they do not expect someone who only wants to spend $45 on a case to actually install fans in each location but it all comes down to sloppy design.
I am not out out to rip Thermaltake a new one but rather to let people know that this is a buyer beware item. Thermaltake's Element line up is really well done. I just wish they took the time to work on the V series since the V9 seems to be full of problems as well based on forum mumblings I see from time to time.
This case gets a big ol'...

...from me for being poorly thought out although it does look pretty nice if you try not to think about all of the problems.
***UNRELATED: W00T! 1st review!
In an attempt to appeal to the budget crowd they released the V3 Black Edition mid tower case some time ago. It sits at the lower end of the V series line up behind the V9 and the newly released, LAN party inspired V5.
With a new build in the works it was decided that some money would be saved by going with a low cost case and investing the difference into the components that go inside of it rather than have a system that is all show and no go. The V3 Black Edition was the clear winner due to looks and features for an i3 budget gaming build.
Product link: Thermaltake V3 Black Edition
The link above will provide some glamour shots of the case itself straight from Thermaltake but what I wanted to focus on are the pros and cons of the case itself rather than the looks. Anybody can look at pictures. It is the functionality that I think most people should be concerned with when looking for the best product for the lowest price tag.
The case certainly has some nice features for occupying such a low price point.
It is light and compact with understated styling meaning it would look great doubling as an office system for every day use and a weekend fragging monster. It is painted a matte black inside and out but the case loves finger prints. Be prepared to wipe it down if you remove a panel.
The 4 front 5.25" bays have removeable dust filters to keep things clean as does the bottom mounted power supply ventilation area. The right side of the case has a solid panel while the left panel has a ventilation area near the GPU as well as a small window to give you a view of your CPU cooler. There is another version without the window but it does not seem to be available at any of the regular online retailers.
The interior is quite roomy considering the total size of the case. There should be room for enough hard drives (4) and optical drives (4) to satisfy just about any user who this case is marketed to. There is also room for a floppy drive below the front panel USB 2.0, mic and headphone inputs, which support both AC97 and HD Audio and even a spot to mount a 2.5" solid state drive or laptop drive on the bottom of the case inside the hard drive cage.
Most of the motherboard stand offs are built into the motherboard tray with the remainder included in the standard bag of hardware. One feature that more case manufacturers should adopt is the center stand off with a pin that acts as a guide to hold the board in place while you tighten the screws. Something else that was nice to see was a large cut out in the motherboard tray that gives easy access to the back plate of any aftermarket heatsink.
Finally there are enough areas for fans to keep your system cool with room for a 120mm fan directly in front of the hard drive cage, another on the bottom of the case between the power supply and the hard drive cage, two at the top of the case and another at the rear of the case. Thermaltake has supplied a blue LED fan in this location. It is not surprising that this is the only case fan included considering the price point.
Now if this were a marriage, the honeymoon would be over.
The case was a little on the flimsy side but that is to be expected considering the price however that can easily be overlooked unless you move your case around a lot. There are much larger problems than the tickness of the metal used in the construction.
While installing the fans listed in my signature were constant problems with clearance along with the little things that made me scratch my head and wonder what the designers of the case were thinking let alone the people who approved it for mass production.
Fan placement was an absolute nightmare. As you can see from the images below there were clearance issues between the 8-pin power connector and top row of clips on the DIMM slots and the two top fans. In order to make the fans fit they had to be mounted using ventilation holes and not the intended mounting holes. Due to this only 2 screws per fan could be used resulting in excess vibration when the sytem is powered on, defeating the purpose of the quiet fans that were specifically selected for this build.
There were similar clearance issues with the bottom mounted fan due to the size of the power supply. Now the power supply used is not out of the ordinary like a few of the over-sized 1000 watt units that are available. This clearance issue can be overlooked because even though the power supply is a bit larger than some plus it is modular meaning the connections go across the entire face of the unit, top to bottom instead of having all cables come from just one side. Again the mounting point was modified but this time only 1 screw could be used but this time the vibrations and noise from this fan outweigh the cooling ability.
The area where the front 120mm fan can be placed does not have a dust filter like the 5.25" bays do. Surely it would not have been too hard to place a piece of foam there as well. This was not an issue since an additional fan filter was installed in this location but it is the little things like this that should be addressed at a design level.
The tool free mounting system for the drives is a bit loose so if you have to move it around a lot you should probaby secure them with screws since there is a bit too much give each way. Also there are only tool free mounting brackets for one of each drive so if you have multiple hard drives or optical drives you will need to use the supplied screws anyway. This was likely done to cut costs but much like the air filter for the front fan, how much would this really add on to the price tag?
There is almost no room behind the motherboard tray and the right side panel so routing cables will be a touch and go afair. The only cables routed behind the motherboard tray in this build were the fan and front audio/USB cables. The rest were stashed behind the 3.5" drive bays. If you buy a case with a black interior you will likely show off the guts of your rig. Thermaltake should have taken this into account and provided either more room behind the motherboard tray or cable management options just to the right of the motherboard itself similar to other cases close to this price point like the Antec Three Hundred.
The final feature that really seems like wasted effort and resources was the bracket that covers the 7 PCI slots. This extra cover goes over your expansion cards and secures with a single screw. Maybe this is meant to be a time saving, one screw mounting alternative but there is no way this would keep a card secure enough, especially if it was an extra long card like the 8800, 9800, 5870, etc series or if the card has a heavy after market heatsink.
This was certainly a love/hate build.
If a new company had launched this case then maybe the clearance issues and little nuances could be shrugged off but a company like Thermaltake really should have done their homework. Maybe they do not expect someone who only wants to spend $45 on a case to actually install fans in each location but it all comes down to sloppy design.
I am not out out to rip Thermaltake a new one but rather to let people know that this is a buyer beware item. Thermaltake's Element line up is really well done. I just wish they took the time to work on the V series since the V9 seems to be full of problems as well based on forum mumblings I see from time to time.
This case gets a big ol'...
...from me for being poorly thought out although it does look pretty nice if you try not to think about all of the problems.
***UNRELATED: W00T! 1st review!